Possible Future Developments
that can be implemented to improve and optimize project performance.
Here we will illustrate some improvements that you can implement on our prototype. These are just general examples, in the case of particular applications a strong point of this project is its modularity and scalability, lending itself as a basis for any field of use.
Complete Energy Autonomy
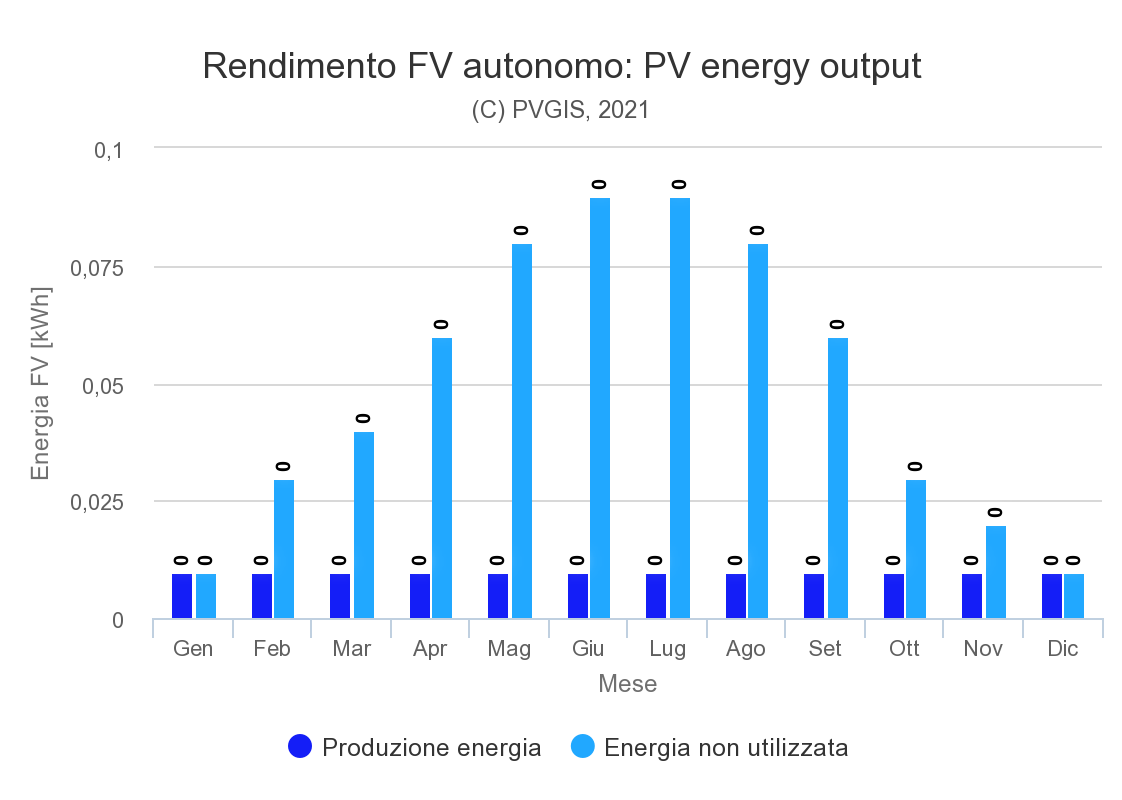
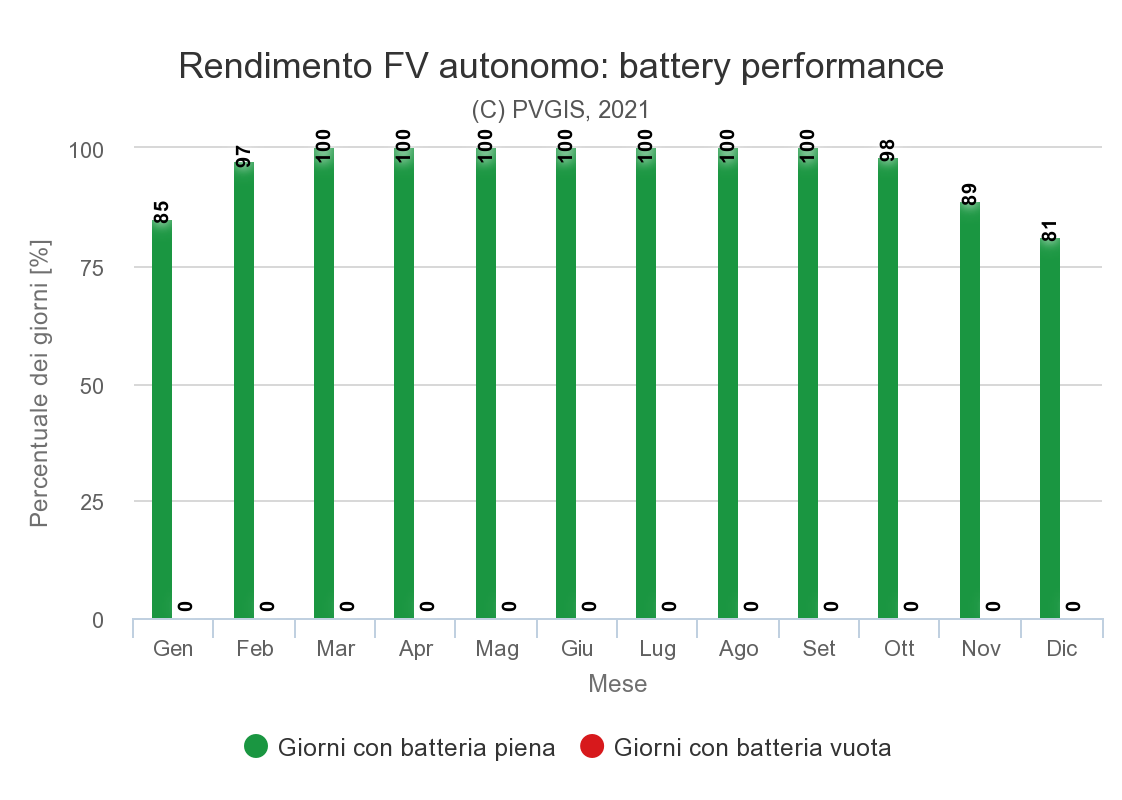
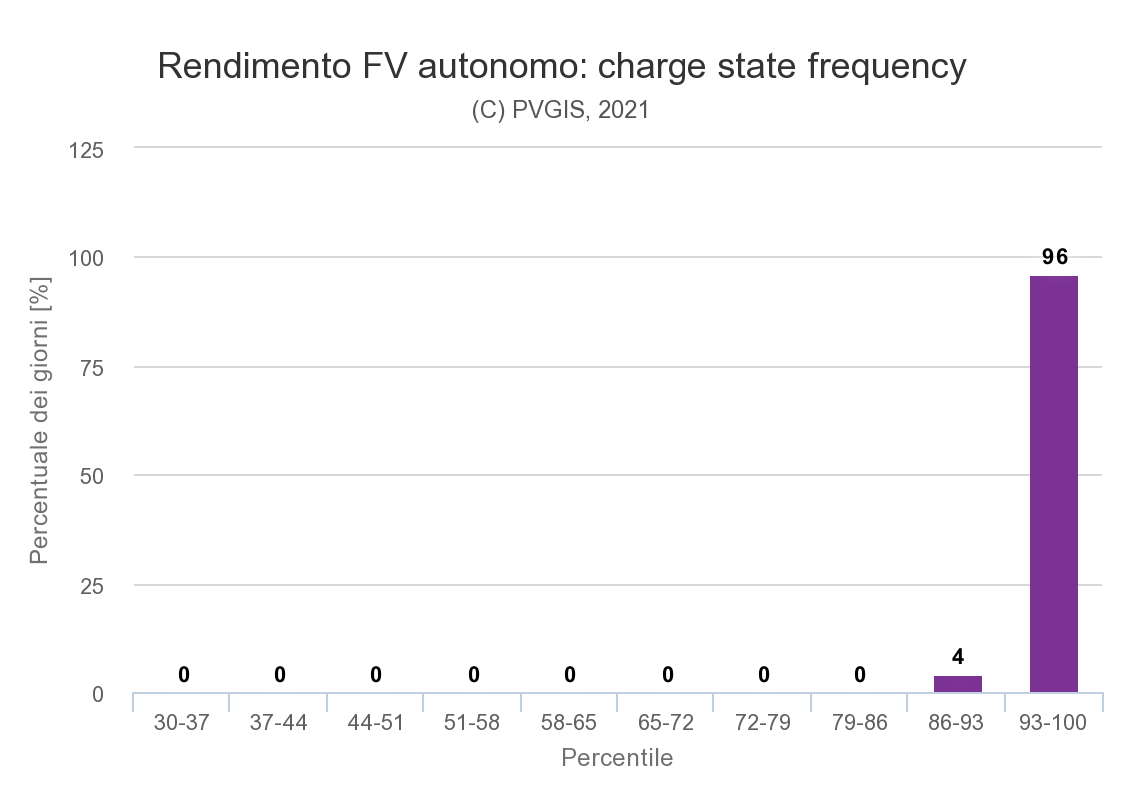
An improvement not particularly difficult to implement is to achieve complete energy autonomy,
properly sizing a battery, a solar panel, and a charge controller to be able to meet
the consumption of the board.
We have already measured the consumption of the board in the laboratory, leaving it for half
an hour connected to the multi-meter with an interval of 5 minutes of signal sending
(very frequent compared to normal operation), obtaining the results shown in Figure 1.
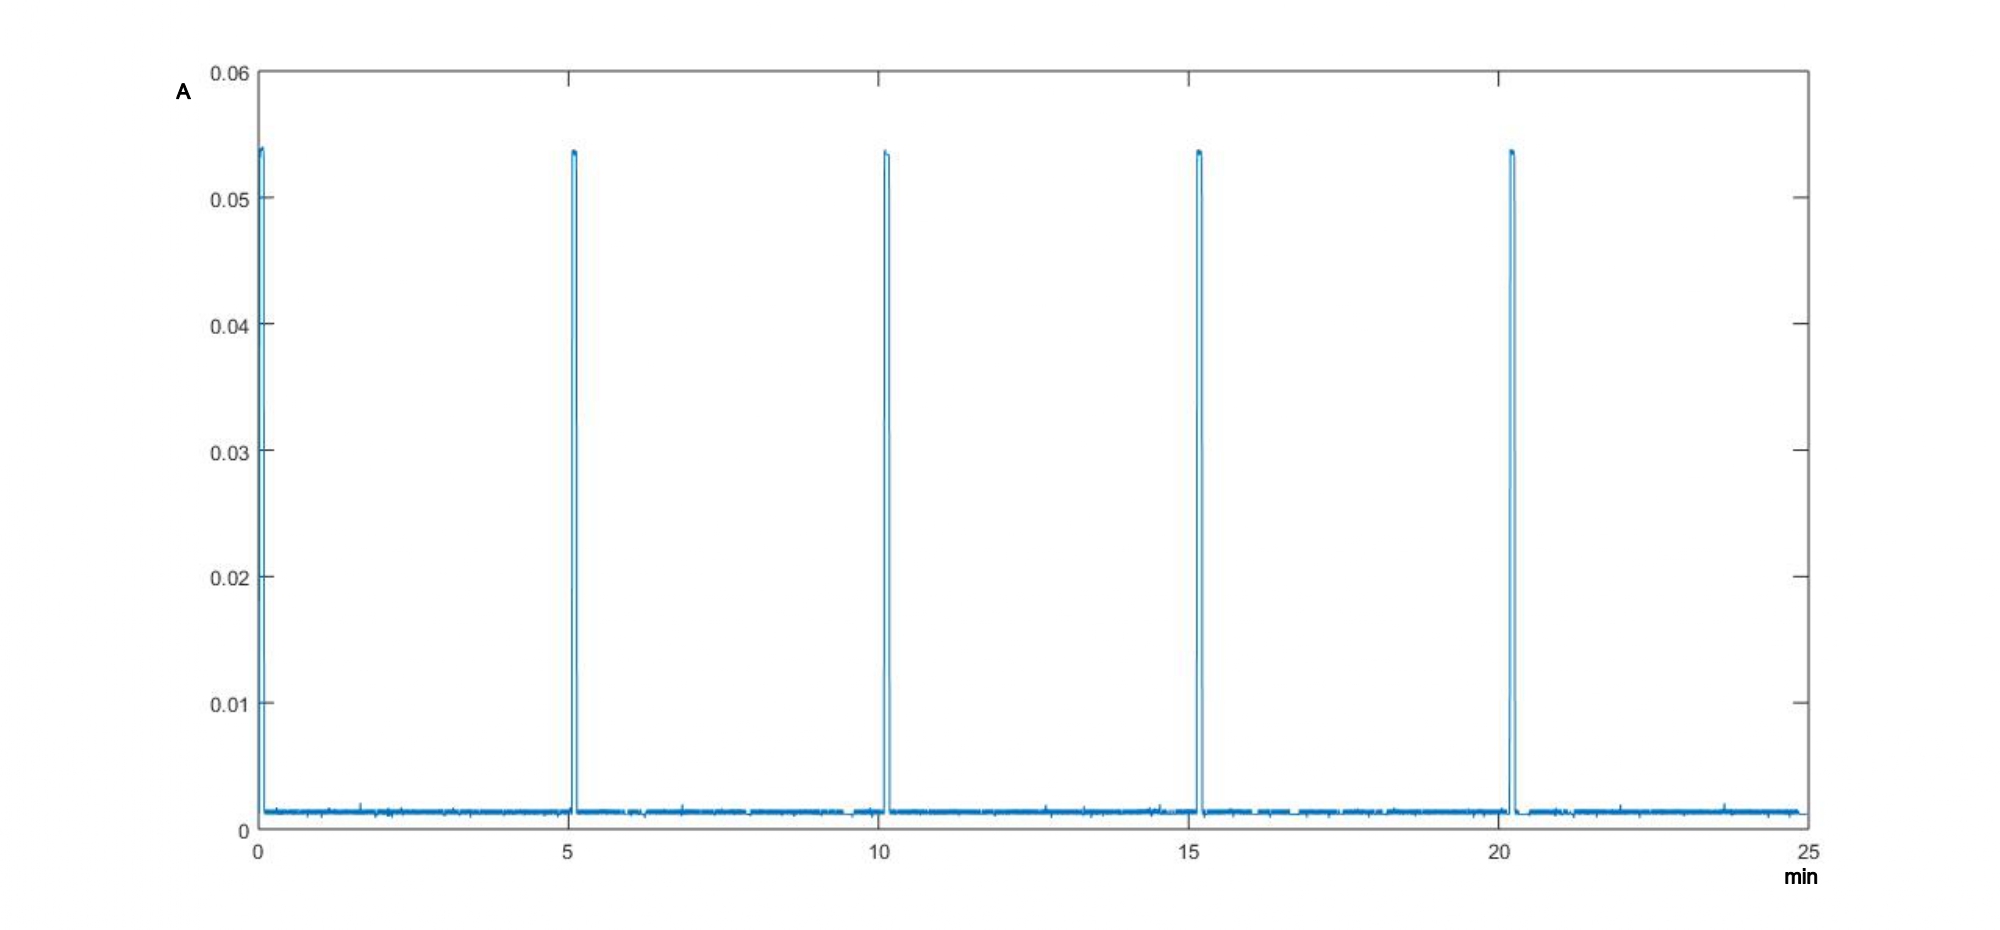
Figure 1 - Board consumption
After that we were able to calculate the average power consumption and make calculations to size the battery and the photovoltaic cell necessary to ensure autonomous operation throughout the year with the solar radiation present in Udine. We have not completely designed the whole circuit, but in general we can say that with a solar cell of 22mW and a battery of 20mAh (example images in Figure 2), we can achieve energy autonomy.
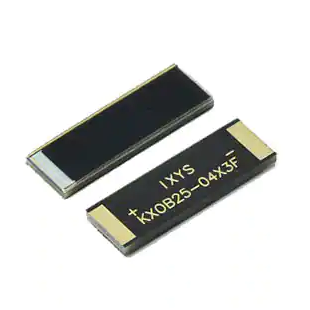
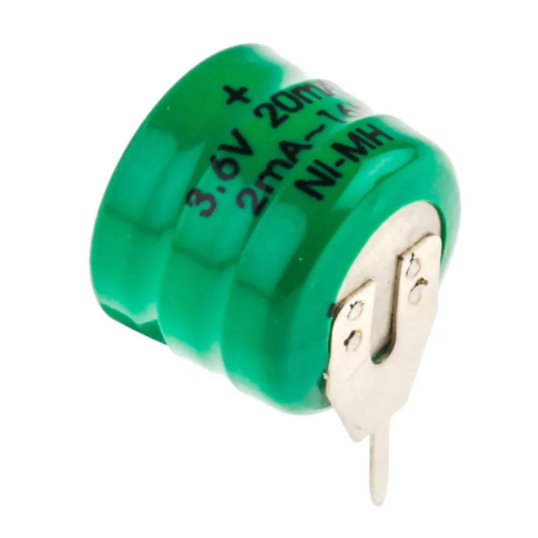
Figure 2 - Solar cell and Battery
Improved Case and Board
Another step that you can do to further improve this project is to make a PCB ad hoc in order to eliminate all unnecessary cables and connect the nucleo board to the various sensors, besides realizing a case in which to lodge everything and that allows sensors that need to make contact with light or rain to do so, and also supports the solar cell with battery.
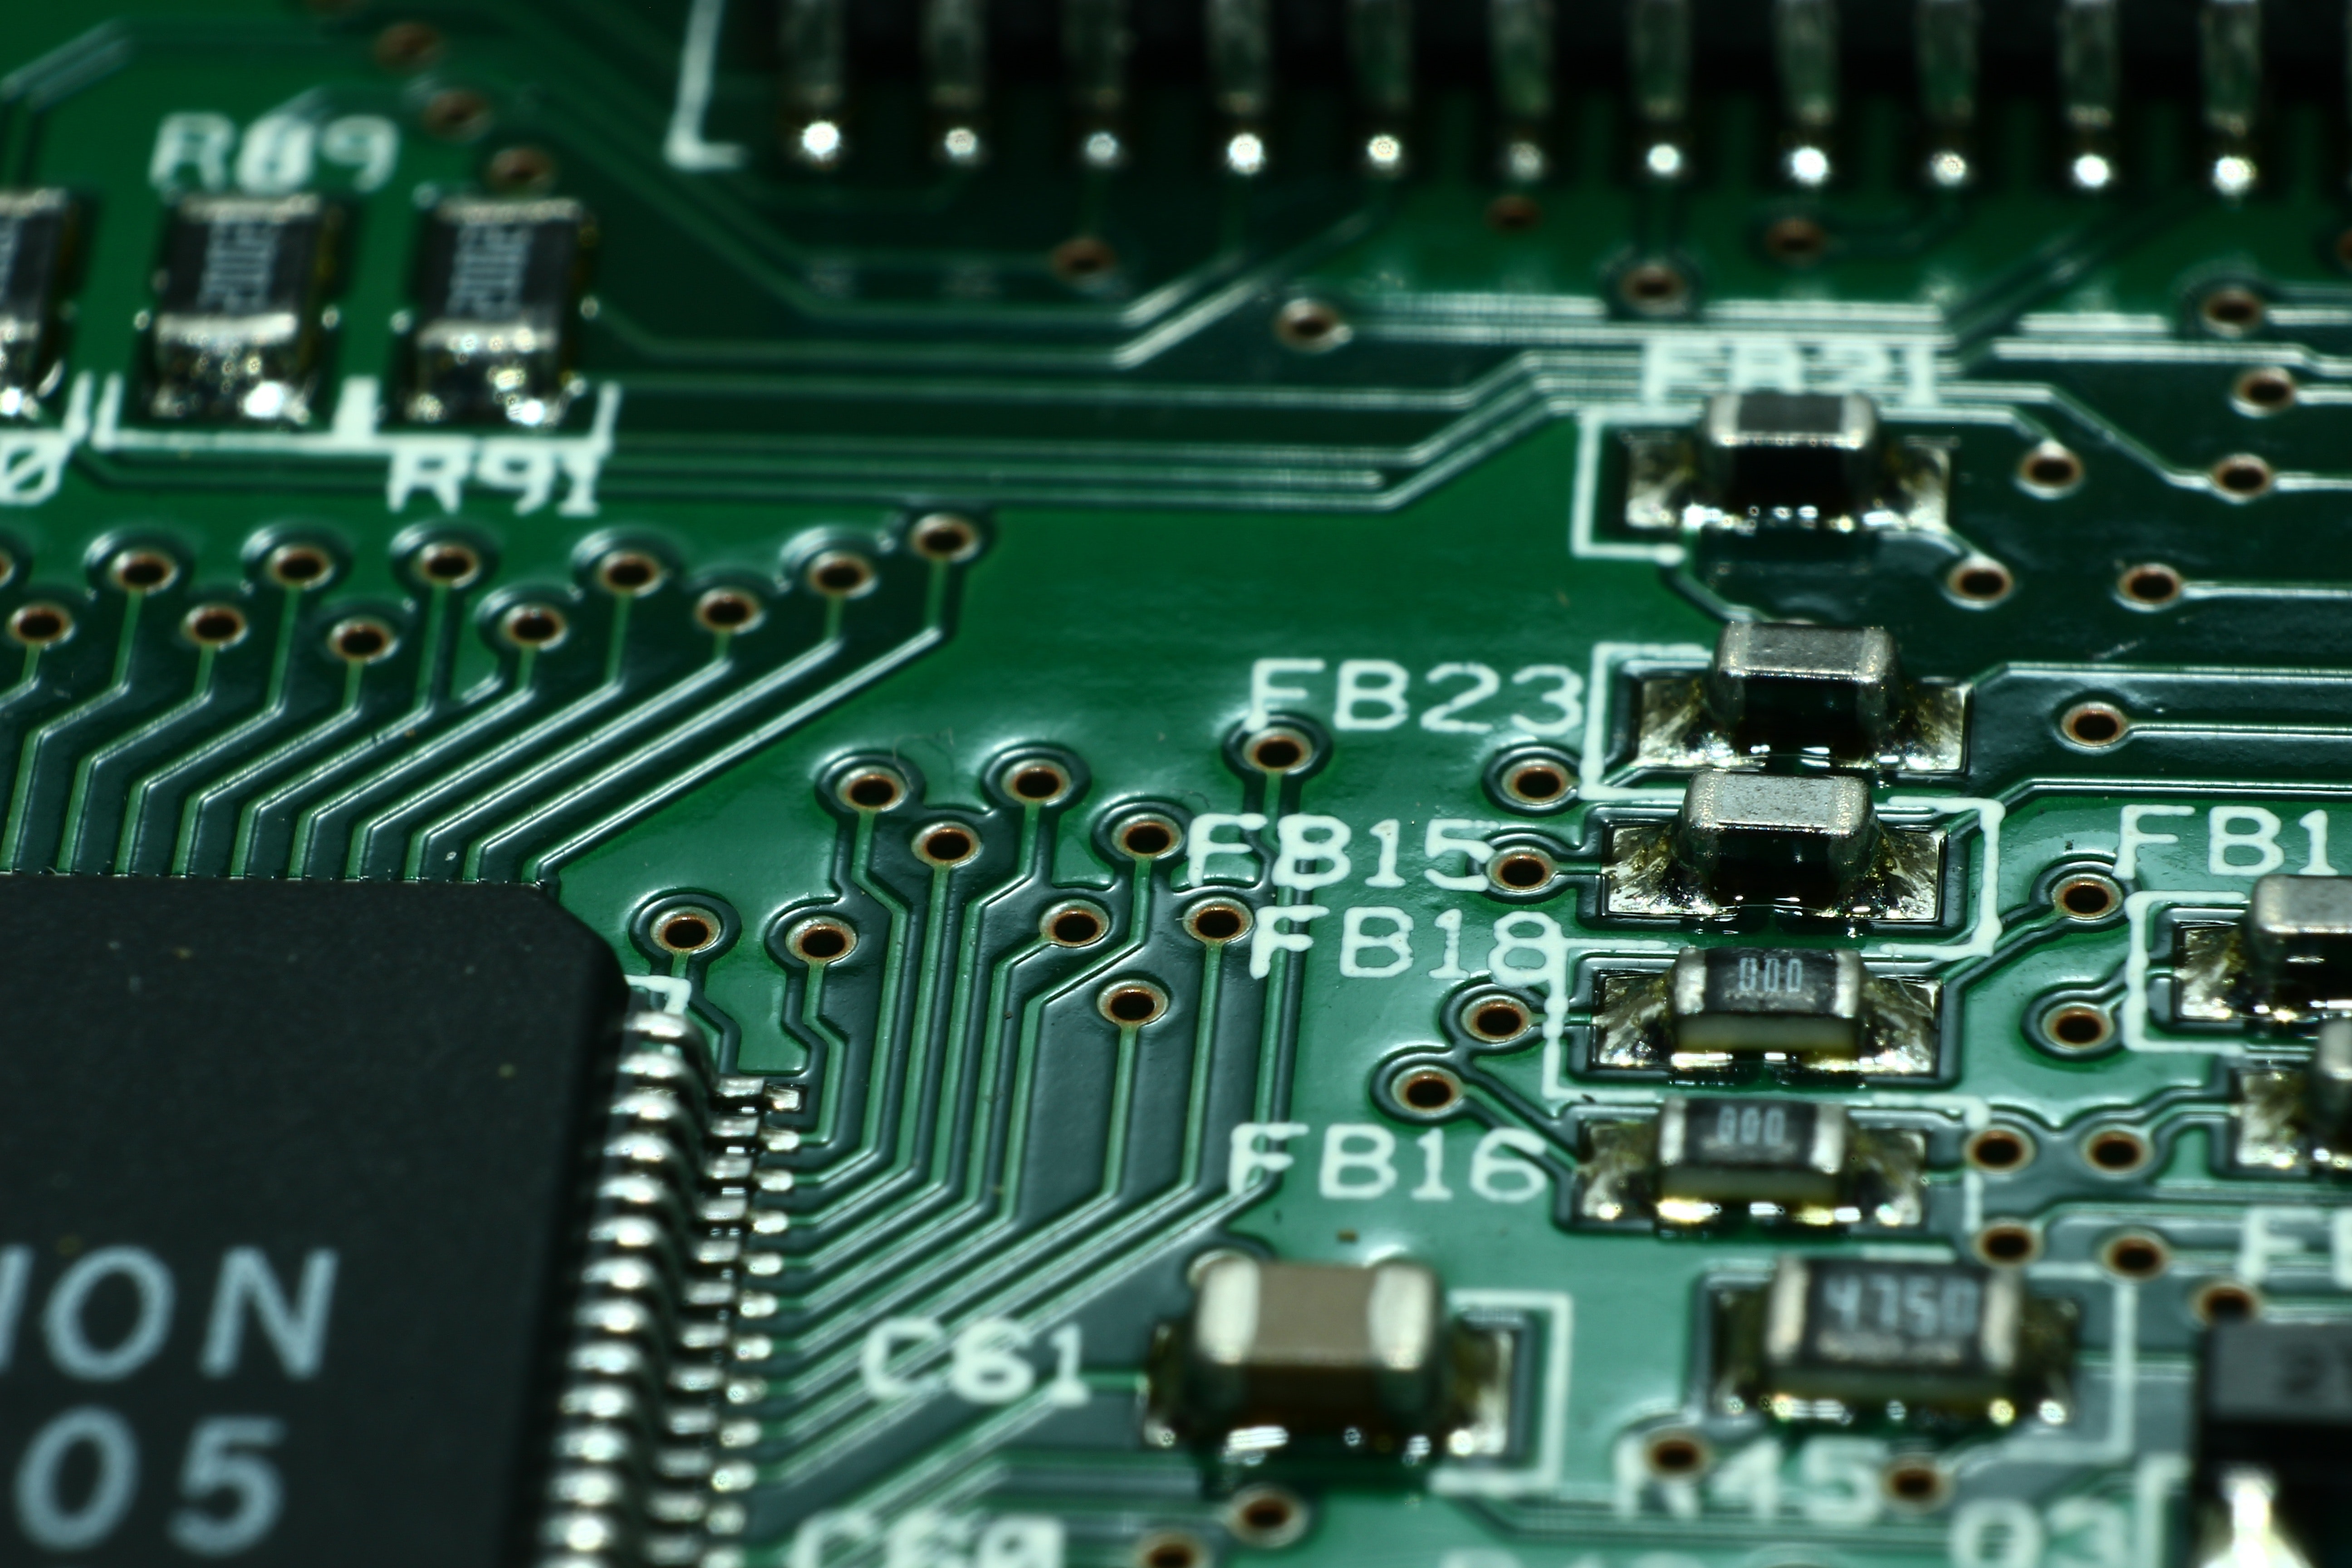
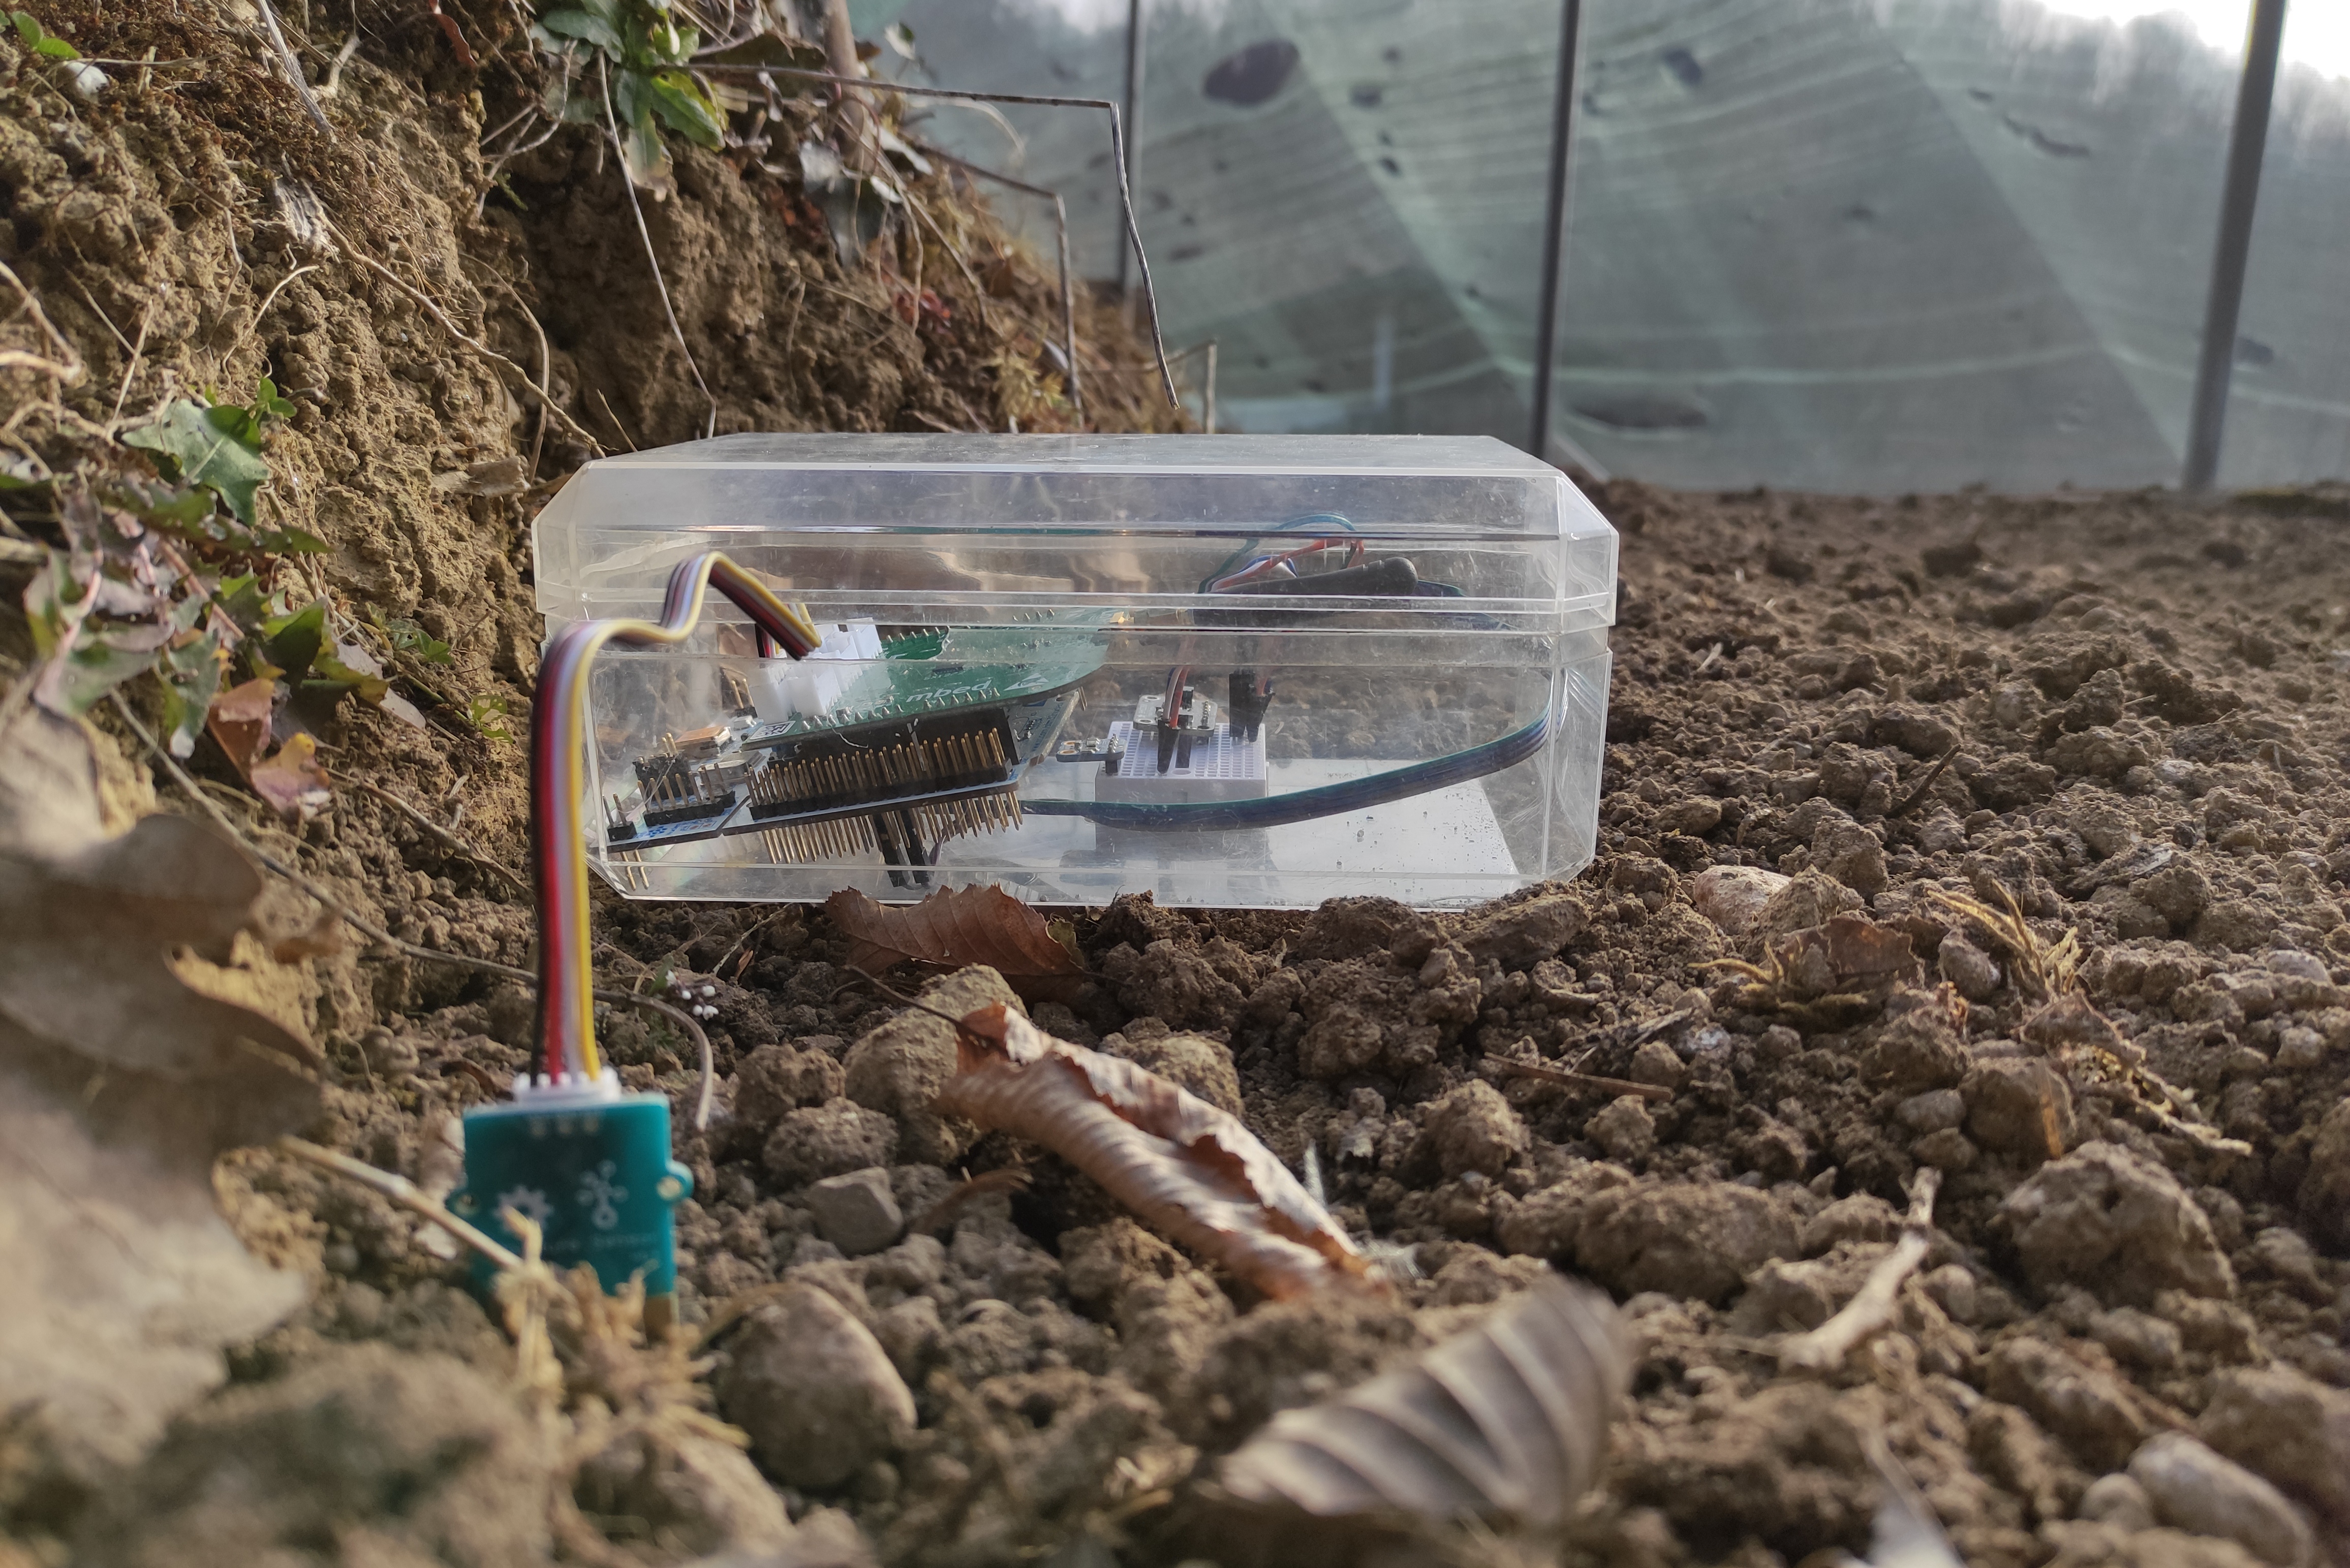
Figure 4 - PCB and Field module
Extended range
With our frequency, bandwidth and spreading factor configuration, see Field modules, optimised for long distance, we were able to reach 4.5 kilometres, in a hilly area and therefore not ideal for transmission.
With more powerful gateways and higher gain antennas, in a more suitable rural area, and with some and with some tricks such as placing the devices on rooftops or higher altitudes and making sure there are no obstacles between the gateway and the modules, it is possible to easily exceed 10 kilometres.
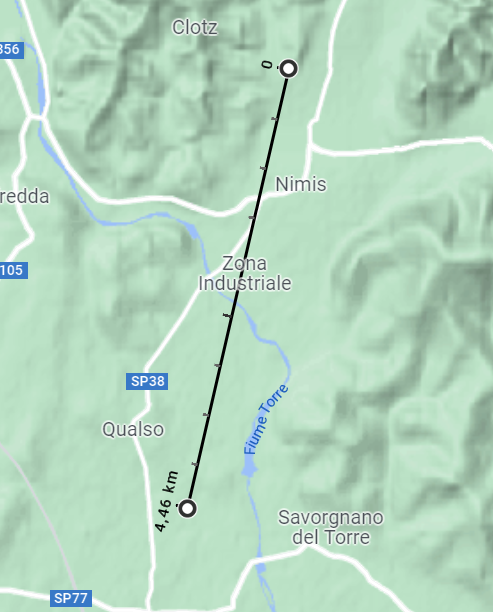
Figure 5 - Distance achieved in our tests
Connection to the LoRaWAN network
If you didn't want to use a gateway to install locally a service that you can use is The Things Network.
The Things Network offers a collection of open tools and a worldwide, open network to let you create your next IoT application at a low cost, with maximum security and scalability.
All developed through the integration of "The Things Stack" to LoRaWAN Network Server. The Things Stack can be accessed through the console, The Things Stack's management application for LoRaWAN.
It's a web application that, among other things, may be used to register apps, end devices, or gateways, monitor network traffic, and adjust network-related parameters.
Here the map of gateways available worldwide.